
Some tips for photographing snow
The beauty of snow is pure poetry, however, capturing stunning photos of snowy landscapes can pose an unexpected challenge. I warn you: if you decide to embark on a snow photography session without proper planning, you may encounter issues with autofocus and exposure (in addition to the risk of equipment malfunctions due to the weather).
But don't be discouraged; in this article, I'll share my most effective tips for shooting in the snow.
So, if you want to master the art of capturing exceptional snow photos, let's dive right into the article and begin our journey together without delay.
Prepare before you set out
Before delving into the magic of your winter landscape with the camera, it's crucial to consider some key aspects. First and foremost, dressing appropriately is a must – and doing it well! Opt for multiple layers of clothing rather than relying on a single, very warm layer. Make sure to wear shoes that keep you warm and dry, and don't forget to complete the look with gloves and a hat!
Eye protection is equally essential. Especially on cloudy days, the light may seem low, but the snow reflects light intensely, potentially harming your eyes imperceptibly. To prevent this situation, known as "snow blindness," it is advisable to wear sunglasses.
(Yes, sunglasses in winter, even when the sky is overcast! It may seem unusual, but those who spend much of the winter outdoors will agree. And, of course, it adds a touch of style.)
Once you're sure you're well-protected and ready to enjoy the snow, make sure to bring extra batteries. Cold weather significantly impacts the camera's battery life. Keep spare batteries close to your body, preferably in your jacket, to avoid cooling and faster consumption.
Now, with your appropriate attire and extra batteries, you are ready to capture the beauty of winter with your camera. Happy photographic adventure!
Focus on contrast (or use manual focus)
The autofocus of your beloved camera relies on contrast to do its job. It works great in most situations, but things get tricky when the landscape turns into a sea of white snow. In these conditions, your autofocus may act up, causing frustration and missing out on good shooting opportunities.
But do not despair; there's a simple solution to bypass this obstacle:
- Switch your camera to single-point AF mode.
- Place the main focal point on a high-contrast area in the snowy scene. For example, focus on the bark of a tree, on plant elements emerging from the snow, on the roof of a house, or any element that stands out against the surrounding white.
- Half-press the shutter button. If you've targeted a part of the scene with sufficient contrast, the focus will lock. If this doesn't happen, look for a subject with even more evident contrast.
- Keep the shutter button half-pressed while recomposing the frame. Once you have achieved the desired composition, fully press the button to capture the perfect snow photo!
Note that if you're trying to photograph a low-contrast scene, such as a white house against a snowy background, switching to manual focus might be preferable. Rotate the lens focus ring precisely until you achieve impeccable sharpness. For better results, use the camera's Live View mode to preview the image on the rear LCD display and zoom in to check the focus with greater detail.
Choose the right camera settings for snow photography
Although the best settings for a snow photoshoot may vary depending on the light, situation, and your artistic intentions, I'll share some practical tips to ensure your snow shots are sharp and well-exposed.
Firstly, set your camera to shoot in RAW format. This choice will provide you with a greater amount of information to use during the post-production phase, allowing you to recover details in shadows and highlights (common situations in snow photography due to the brightness of the sun).
I also recommend selecting your camera's evaluative metering mode, also known as Matrix metering. This option will analyze the entire scene to achieve the best possible exposure in most situations. If you encounter difficulties with exposure, you can experiment with Spot or Partial modes, but evaluative metering serves as a solid starting point.
Thirdly, shoot in Aperture Priority mode. This allows you to adjust aperture and ISO, while the camera automatically adjusts the shutter speed to achieve a proper exposure. Aperture Priority mode provides convenient control over camera settings, especially useful when fingers are cold.
(Alternatively, you can choose Manual mode, but keep in mind that it requires adjusting all settings, not just aperture and ISO. This mode is not ideal if you're still experimenting with exposure or in fast-moving situations. However, if you want complete control over camera settings and don't mind handling the camera with cold fingers, Manual mode is an excellent choice.)
After setting Aperture Priority mode, select an aperture and ISO. I recommend keeping the ISO at the base level (usually ISO 100, but it can vary by camera) for clean, noise-free images.
Regarding aperture, it depends on your artistic interests. A wide aperture (like f/2.8) will provide a pleasing depth of field, while a narrower aperture (like f/11) will keep the entire shot sharp, highlighting intricate details of a snowy landscape. If you're unsure about the aperture to use, take two photos of each scene, one with a wide aperture and one with a narrow aperture, then compare them at home to determine your preference.
After setting aperture and ISO, check the shutter speed. The camera will select it based on exposure needs, but if you're shooting handheld, ensure it's fast enough for sharp shots (1/100 is a good starting point, but experiment to understand your capabilities and limits). If the shutter speed is too slow, adjust aperture or ISO to increase it.
Usually, you'll also need to adjust the exposure compensation positively by one or two stops. Due to its metering, the camera might render the snow gray, and exposure compensation counteracts this effect, maintaining brightness. However, be careful not to let the shutter speed drop below the acceptable limit (as mentioned earlier), and if necessary, adjust aperture or ISO to accommodate.
Finally, pay attention to the white balance setting. If you're not careful, the snow might appear yellow or blue. Personally, I use the automatic white balance setting on my camera and make any corrections during post-production. This approach works well if you shoot in RAW. An alternative is to use a gray card to set the white balance during the photo session, although it might be cumbersome, especially in cold conditions.
A small final tip: sometimes, a color cast in the snow can lend a charming look to photos, so don't hesitate to experiment with different white balance settings for artistic reasons!
Use the right equipment to photograph snow
To capture extraordinary snow photos, consider these tips to enhance the quality of your shots.
Choose a camera with a larger sensor and high ISO capabilities
For limited light conditions on cold and snowy days, a larger sensor and high ISO capabilities are essential. Full-frame mirrorless cameras offer exceptional performance, but excellent images can also be obtained with APS-C mirrorless models or a DSLR.
Weather-resistant optics
If you plan to shoot in adverse weather conditions, opt for weather-resistant lenses. The focal length should match your interests; for example, avoid a super telephoto lens if you're capturing snowy landscapes. A 50mm prime lens or a versatile 24-70mm zoom lens are good choices for various situations.
Use a tripod or monopod in low light conditions
In low-light conditions, a sturdy tripod or monopod becomes essential to maintain sharpness in your photos. These accessories provide greater stability, crucial when the sky is overcast or covered with falling snow.
By following these tips and adapting them to your specific needs, you can capture extraordinary images and make the most of the unique conditions offered by the snow.
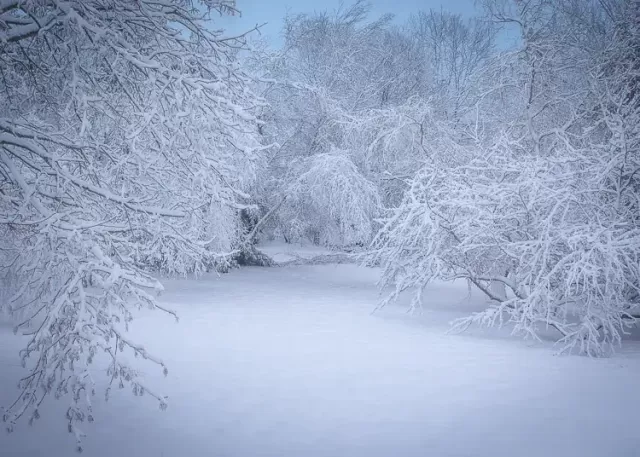
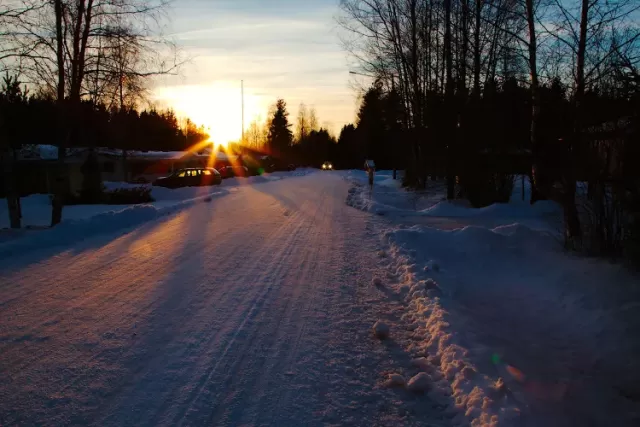
Captures snow while it's still fresh
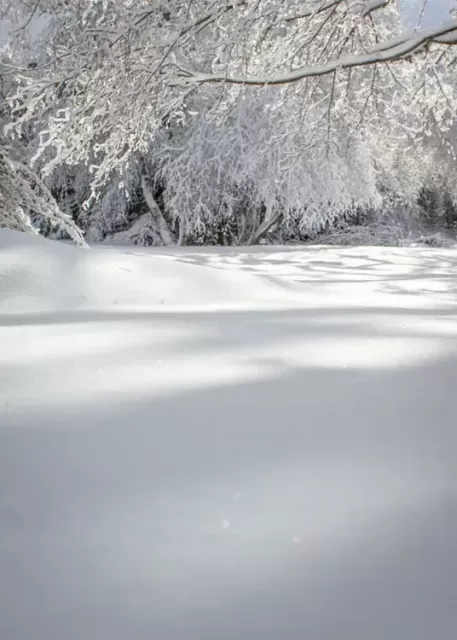
If you want to capture magical photos, head out immediately after a fresh snowfall. The landscape will be transformed into a sparkling and pristine world, free from footprints, yellowed snow, or mud traces. This moment provides a unique opportunity to create extraordinary images of your own winter realm.
However, if you aspire to keep the snow undisturbed, it is crucial to carefully plan which photos to take and the order in which to take them. A misstep could compromise the purity of the snow, making it challenging to capture perfect images in the future.
It's important to note that untouched snow has a limited lifespan. To capture this fleeting moment, you may need to plan your photo outing in advance, perhaps before daily life awakens (considering children playing) or be ready to act as soon as the snowfall subsides. Of course, if your schedule is not flexible, look for isolated areas, such as forests or fields, where you can be confident that human tracks will be limited.
Carefully planning the timing and location of your photo sessions will allow you to preserve the beauty of the freshly fallen snow, creating extraordinary images without unwanted interference.
Seek out color or tonal contrast
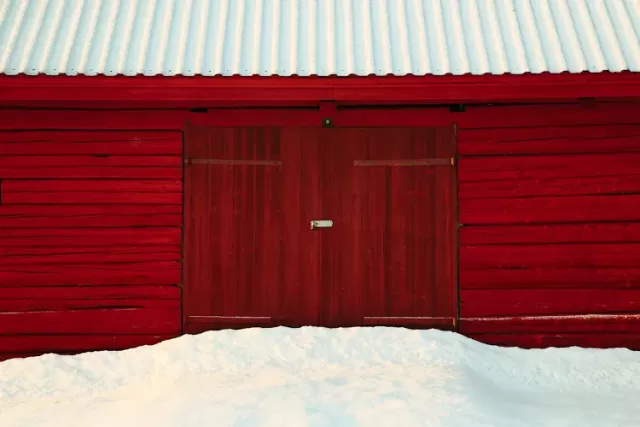
In a previous tip, you learned how crucial contrast is to facilitate your camera's focus. However, are you aware of how striking both chromatic and tonal contrast (light-dark) can be in snow photography?
In a completely white landscape, it might be a challenge to spot elements contrasting with the snow. However, contrast can make an extraordinary difference, so keep your eyes and mind open.
To add chromatic contrast, look for colorful elements or wait for the sunset when the blue of shadows blends with the warm colors of the sun. To achieve tonal contrast, seek out the white of the snow mixed with dark elements, such as shadows.
And by the way: if you come across flowing water, contrasting the stillness of the snow with the fluidity of moving water can significantly enrich your image!
Keep batteries warm
To take photos in the snow, it is imperative to have new batteries, as low temperatures can drastically reduce their lifespan.
Therefore, make sure to bring at least two batteries with you and always keep one in the inner pocket, where body heat can help maintain its efficiency. Depending on your camera's battery life, I would even recommend carrying three or four. Third-party options can be purchased online at affordable costs.
When the camera battery is depleted, replace it with one that is already warmed up. Then, store the depleted battery in an inner pocket; you might even be able to reuse it once it has warmed up. Keeping the batteries warm is crucial to ensure optimal performance during your snow photography sessions.
Bag your camera when you come inside
When transporting a cold camera into a warm environment, what happens? Condensation forms on the lens and potentially inside the camera, which is, you guessed it, a significant issue. In some cases, condensation might even lead to mold formation.
Fortunately, this is an easy problem to prevent.
When heading out in cold conditions, make sure to bring a properly sized zip-lock bag with you. I usually keep one of these bags in the camera case or jacket pocket. When it's time to return, fill the zip-lock bag with cold air and place the camera inside, ensuring the seal is airtight.
Once home, position the camera in a place where it can gradually warm up. When the camera has reached room temperature, you can remove it from the bag and use it as usual.
(And if you decide to head back outside for shooting after a brief rest indoors, you can safely carry the camera back outside in the cold bag, unzip it outdoors, and resume shooting.)
Remember that you'll need to put the cold camera into the bag before bringing it into any warm environment, including stores, heated elevators, and heated cars. If you plan to capture both an outdoor snowy landscape and a cozy interior in the same photoshoot, start by capturing the indoor scenes and then move outside. This way, you'll avoid having to wait for the camera to warm up (a process that can take several hours).
Shoot in any light
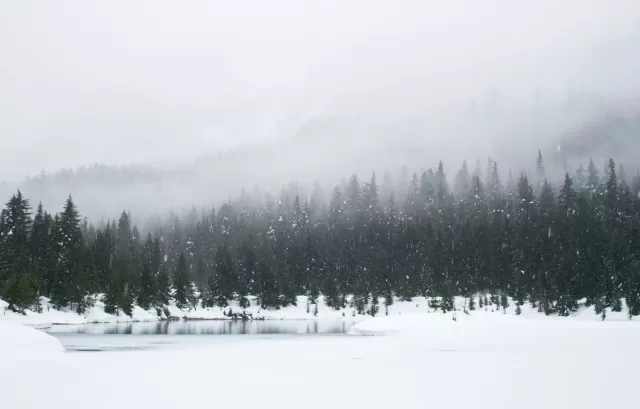
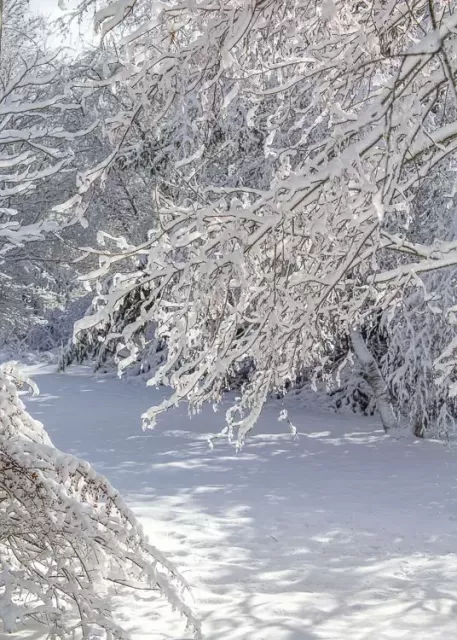
Snowy landscapes can look captivating both under sunny and cloudy skies, so don't limit yourself to photographing only in specific lighting conditions. Instead, learn to adapt to the different lighting conditions that come your way!
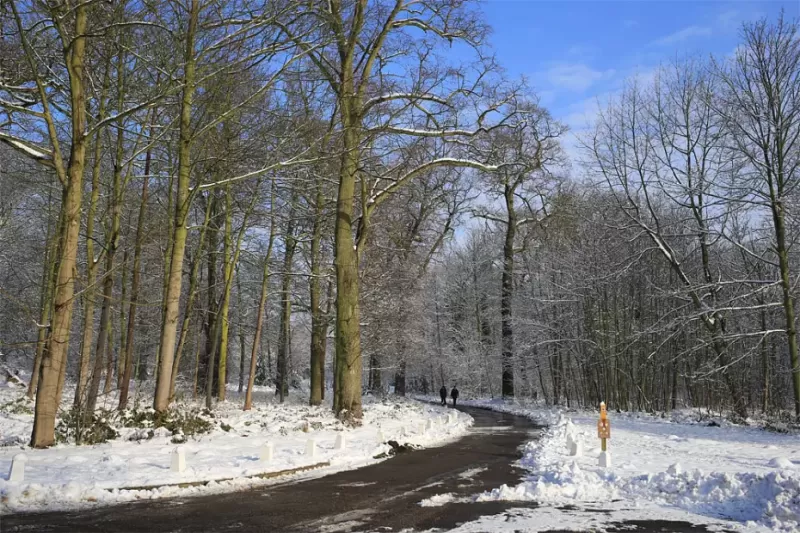
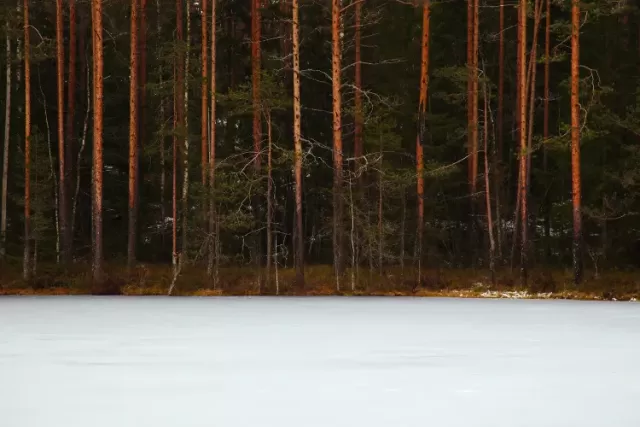
On cloudy days, look for elements that contrast with the whiteness of the snow, adding interest to your photos, such as trees, grass, or ice. Explore more intricate landscapes, like grass emerging from the snow or patterns in puddles and frozen waterways.
When the sky is clear, take advantage of the shadows created by the intense sunlight and experiment with converting your photos to black and white. If shooting early in the morning or evening, try to capture the warm light reflecting on the cold snow. Using a wide-angle lens and seeking elevated angles can help you capture the breadth of the landscape.
Beautiful snowy landscapes can also emerge during the blue hour, although a tripod is necessary to keep the camera stable during longer exposures. If you opt for this option, plan several compositions in advance and set them up a few minutes before the blue hour. When the right light kicks in, take multiple shots, being careful not to touch the camera to avoid unwanted vibrations. In this case, using a remote shutter release can be extremely helpful.
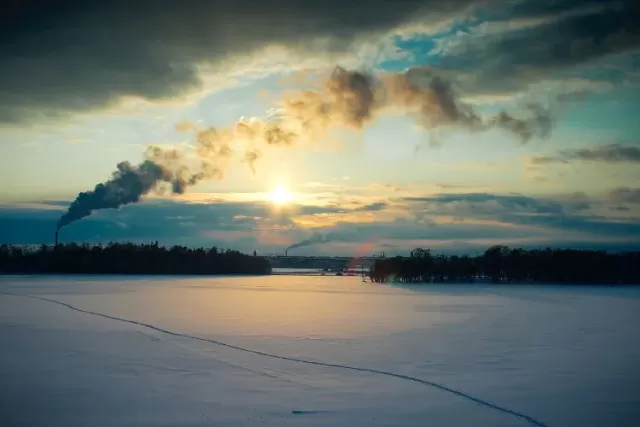
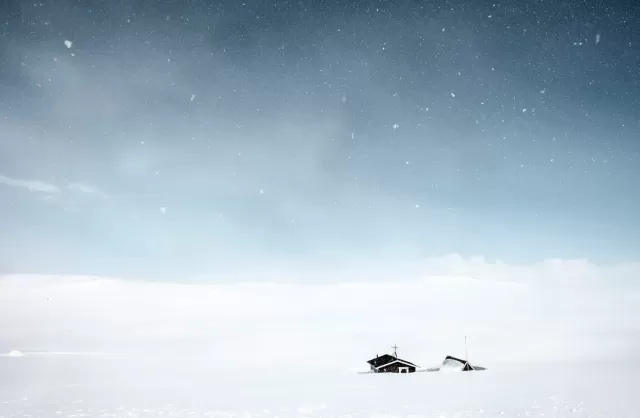
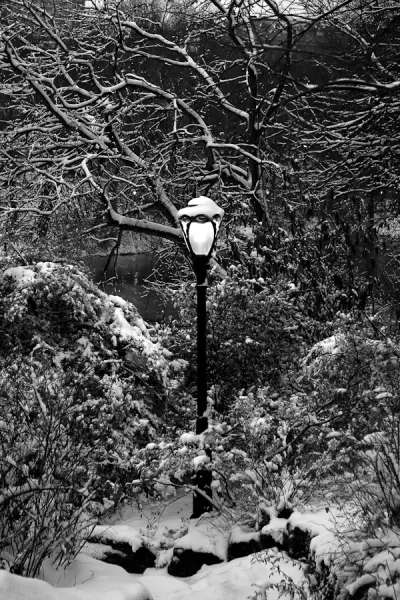
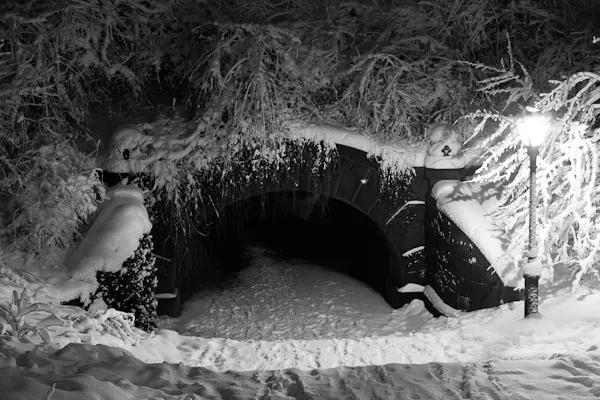
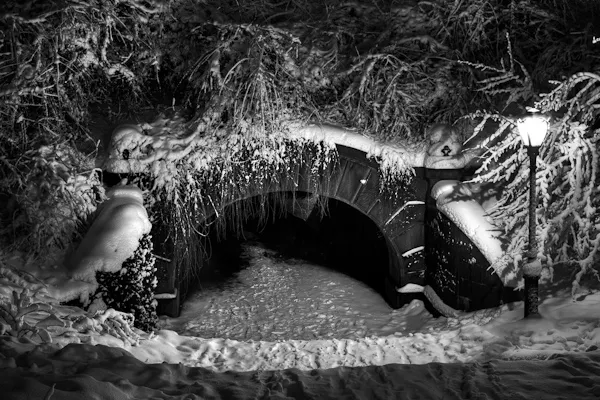
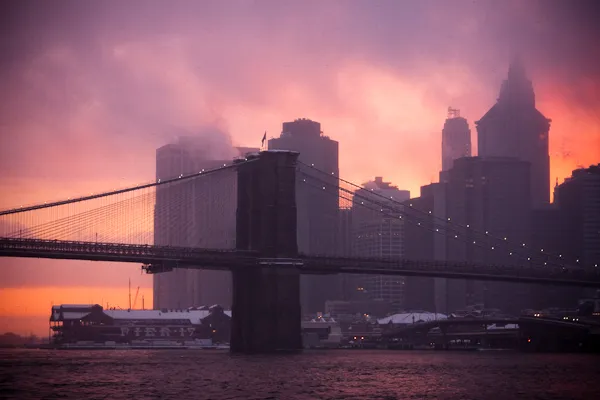
Photograph snow at night for a dark and eerie effect
Imagine snow not only as a friendly, peaceful, and simple element. Often, it can take on a dark and menacing appearance, especially when captured at dusk or at night.
As light fades, the contrast between the brightness of the snow and the surrounding darkness becomes even more pronounced. This can make tree branches appear like tentacles or twisted fingers intertwining in the scene. The juxtaposition between the beauty of the snow and the uneasiness of the context makes the overall scene unique and compelling!
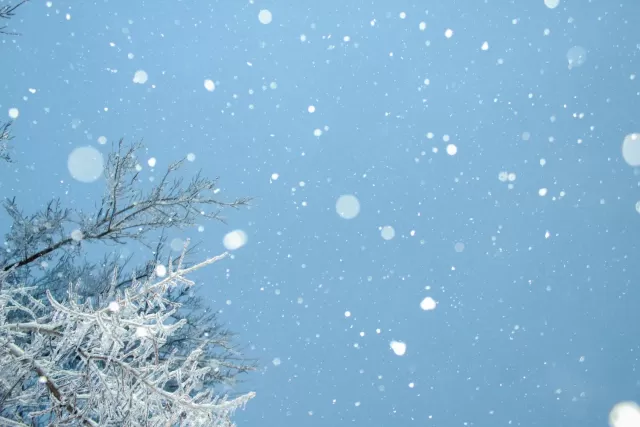
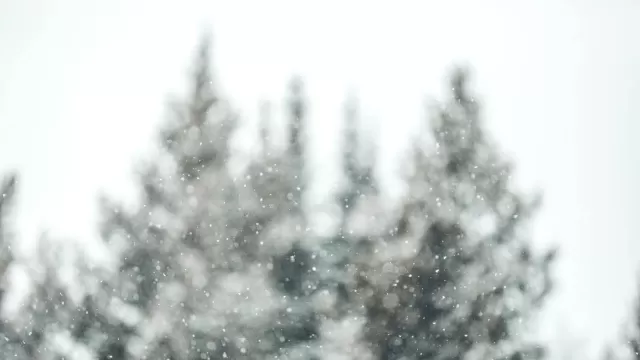
Photograph when the snow starts falling
To some, the idea of taking their beloved camera out in bad weather might be off-putting, which is entirely understandable. However, you should know that snowy days can often turn into a spectacular stage for your photographs!
Here are some ideas for capturing images on snowy days:
- Birds huddling on snow-covered trees.
- Trees surrounded by a minimalist expanse of white.
- Pedestrians bending against the wind.
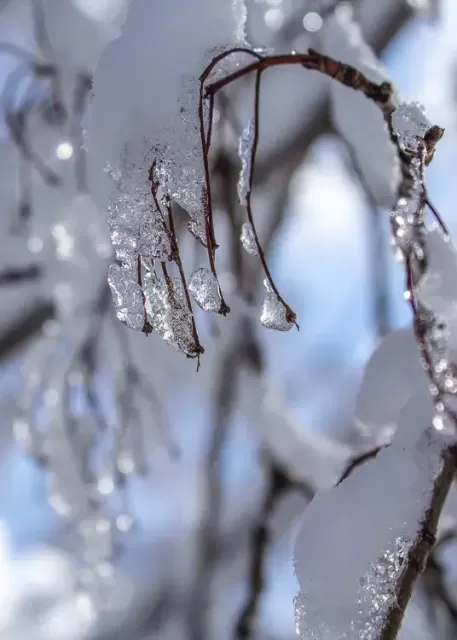
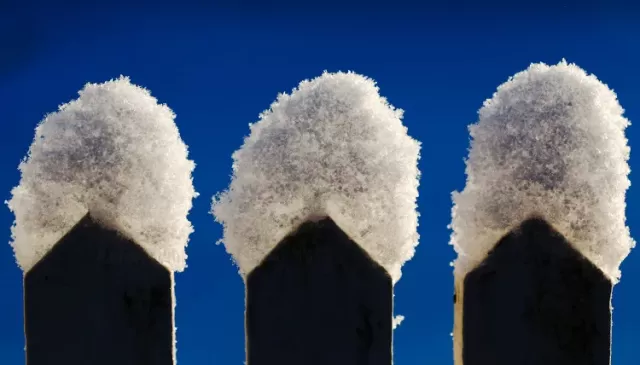
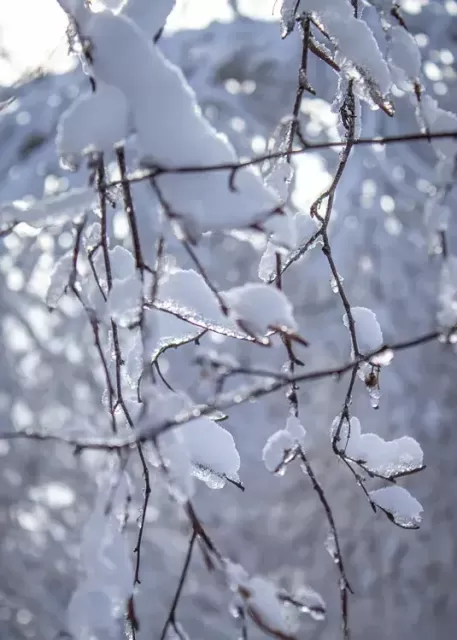
- Plants with small "snow hats."
- Urban landscapes with snowfall and warm lights in the distance.
A quick tip: if you want to capture falling snowflakes, try not to use overly long exposure times. The flakes will turn your shot into a canvas of invisible streaks. Find a shutter speed that will "freeze" the snow. If necessary, I can suggest increasing the ISO; the noise won't be as noticeable when combined with snowflakes.
Of course, it's essential to protect your camera, especially if the snow is wet or heavy. Consider using a rain cover or, if the wind is light, an umbrella. Bring a towel to remove any stray flakes from the camera and lens, and a blower to sweep snow off the front element of the lens. Using a lens hood is recommended to prevent snow from settling on the front element, although it's important to regularly check the front of the lens to ensure it is snow-free.
Try something different
In winter, as in every season, various photographic opportunities arise, and there's no need to stick to conventional advice to achieve outstanding shots. Experimenting with different approaches can be fun and exhilarating!
For instance, snow can be utilized to create negative space in the image, adding flashes of interest to an otherwise subdued scene.
You can further explore your winter landscape by going beyond the obvious. Seek hidden treasures in the winter wonderland: transition from expansive landscapes to detailed close-ups, from strong chromatic contrast to black and white images, from a classic wide-angle landscape to more intimate shots with a telephoto lens.
Act quickly
Snow can change rapidly: it can stop falling in an instant, and when the sun comes out, it melts, quickly transforming trees from dazzling to dull.
It's crucial to monitor the weather conditions carefully, frequently checking outside. Keep your photography equipment ready to be used at any moment.
If you come up with an exciting idea for a snow photo or notice beautiful opportunities for a snow photoshoot, act quickly. Don't waste time; capture some snow photos while the conditions allow it!
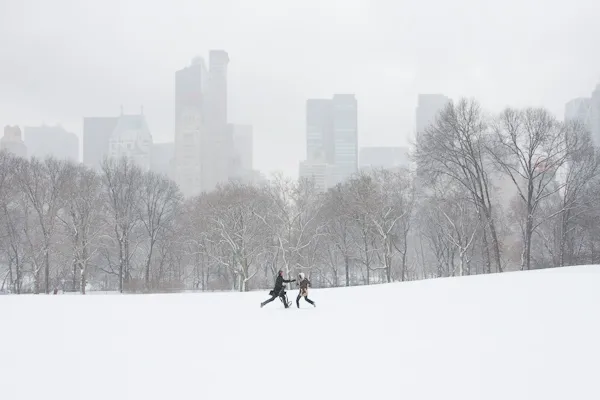
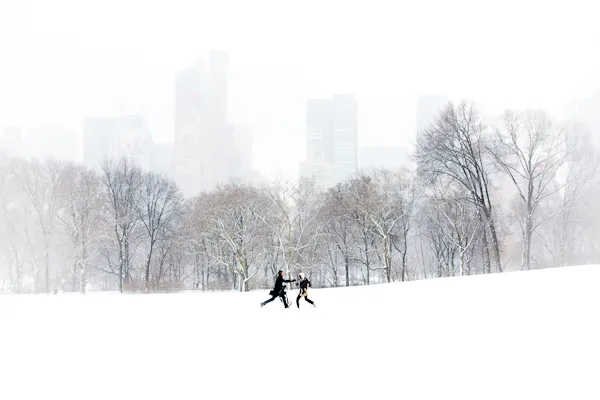
Try some HDR processing
I confess: I usually don't do much HDR. However, sometimes I use it for black and white photos, especially for black and white snow photos.
You see, I prefer using HDR with black and white scenes because the processing can add a great textural quality without the typically unrealistic colors. Depending on the lighting, snow can often lack texture, and the difference between bright whites and deep shadows within these scenes can be so pronounced that it doesn't work well. For me, HDR is the perfect tool to make such scenes work!
Below, I've included an example; first, you can see the unmodified image, then you can see the HDR-processed image (processed using Photomatix).
Be patient
This is a corollary to the last but one suggestion, as while it is crucial to always be ready, it is equally important to be patient, especially when dealing with rapidly changing weather conditions.
In fact, depending on the light, snow can take on a sparkling, ethereal, three-dimensional, flat, and many other nuances. Sometimes, to achieve the desired effect, all it takes is to wait for the light to change.
Therefore, if the snow doesn't appear exactly as you hoped, carefully observe the surrounding light. Is the sun hidden behind a cloud? Is it too low or high in the sky?
Be patient and wait for the right moment to capture the perfect photo.
Play with perspective
Like in all forms of photography, composition is an essential element in capturing extraordinary snow photos. Therefore, it is crucial to pay close attention to the elements included in the frame and carefully consider the perspective.
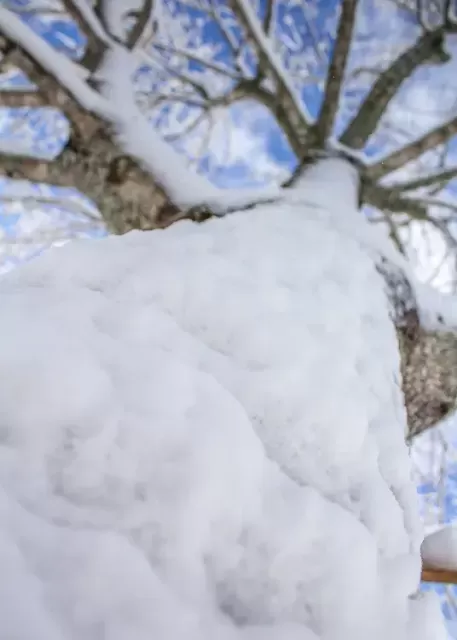
To achieve creative snow photos, experiment by lowering yourself to shoot upwards, as shown here:
You can also look for a bridge or a hill from which you can shoot downward, highlighting how the snow covers the ground, weighs down objects, and sticks to everything.
For every photo you capture, look for opportunities to make it even better. Explore both sides of the subject, experiment with different angles, get closer, step back, and even try changing the lens. After all, who knows what beautiful photos await you?
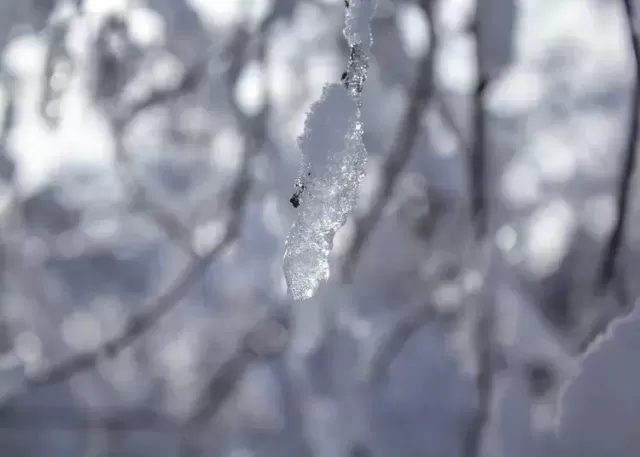
Capture some sparkly bokeh
A sunny winter day provides the ideal opportunity to create bokeh thanks to the sparkling light on the snow and ice.
Here's how to proceed:
- Look for a subject with something bright or shiny in the background. This background element could be light reflected from melting snow, light filtered through tree branches, or light shining through ice.
- Set your camera to a wide aperture, such as f/2.8 or f/4, and ensure there is a significant distance between the subject and the bright background.
- Thanks to the wide aperture, the subject will be sharp, while the bright background elements will appear blurred. At the moment of capture, you'll achieve a delightful bokeh in the background.
Pro Tip: You'll get the best results by getting close to the subject, so choose a lens with close focusing capabilities and have fun!
Use a reverse (white) vignette
The purpose of a vignette is to keep the viewer's attention centered on the image, preventing it from dispersing towards the edges. However, in snow photos with a predominance of white and gray, using a traditional dark vignette might appear too pronounced and out of place.
The solution is to use a white vignette! This choice adds a magical quality to snow photographs and can amplify the effect during a snowstorm. Personally, I use Adobe Lightroom to apply vignettes, and its functionality adapts well to this technique.
Despite the simplicity of this tip, it can truly make a difference in making your images more captivating!
Add color and contrast
I'm usually cautious when it comes to retouching photos, but when it comes to snow photography, I often embrace a different mindset.
Photographing in the midst of a snowstorm, images can appear gray and lacking in contrast, with streaks of snow providing a texture and painterly touch to the scene.
In this context, I take advantage of this characteristic by enhancing the overall appearance through increased contrast and saturation. While excessive saturation is usually to be avoided, for snowstorm scenes, it can add a striking touch.
Compare the original photo:
With the next image. Boosting the color, adding contrast, and a white vignette were all I needed to radically transform the scene.
Tips for snow photography: conclusions
Are you thinking of trying your hand at photography during the next snowfall? I am considering the idea, and I would love for you to do the same. Experiment with different settings to achieve creative results in your snow photos. Just remember to dress appropriately for the weather and protect your equipment!
Have fun and shoot freely, okay?
When you subscribe to the blog, we will send you an e-mail when there are new updates on the site so you wouldn't miss them.
About the author
By accepting you will be accessing a service provided by a third-party external to https://www.insightadv.it/


Comments