
How to take stunning photographs in a wood or forest.
Unlike other genres, forest photography can be a challenge for many photographers. In the woods things can seem more random and many find it difficult to build an effective composition. This unique challenge makes for a fun task for anyone willing to try and overcome. Luckily there are some effective tips and techniques you can use to make the process easier. This post will share the best techniques to improve your forest photography and capture more professional images in less time! Let's take a leap.
The challenge with forest photography
The reason so many photographers struggle to capture the perfect forest photo is because of, well, the forest . As ridiculous as it sounds, every forest is different and no two spots are the same. This means that the settings or the time of day you took one photo may not work for another. Forest photography keeps you on your toes and forces you to actively think about what can be done better.
The second challenge in photographing a forest is finding a compelling composition. When there are random branches, bushes, or traps in the way, they can clog up your shot layout. Suddenly there are so many elements that it is difficult to decide what to photograph. Implementing certain composition rules in forest photography is a big challenge in some scenarios. To capture the best picture possible, it will take some exploration to find just the right patch of forest.
Just like anything outdoors, the forest is constantly changing with the seasons. As the seasons change, so do the lighting conditions, fog, rays of light, colors and more. If there are certain subjects you can't wait to capture in the forest, choosing the right time of year is essential. However, this makes it challenging as it narrows your window of opportunity as to when you can take pictures!
Useful tips for forest photography
While forest photography can be challenging, it's an extremely rewarding process when all goes well. To help you make smart decisions about how and when to photograph the forest, I've prepared a list of helpful tips. By implementing these forest photography tips you can better prepare and feel confident about the photos you will capture.
1. Take your time
When heading to an unfamiliar destination, take the time to explore the area. This is a general rule that applies to all people taking any type of photography.
Get a feel for the place by walking around and paying attention to the light at that time of day. Make note of where it falls at other times as well for future use.
Look for interesting compositional elements by crouching, looking up or climbing a high ground to see what there is to photograph. These elements can make the image of a forest unique and interesting.
2. Explore the surroundings
There is nothing worse than finding an ideal location, but full of photographers or tourists.
Do your research and find the best forest photography spots accessible from the main road, trails and viewing areas.
Take the time to get off the trail and locate parts of the forest that are less traveled. Always be aware of the dangers and never push yourself to explore beyond your limits. Don't forget that coming back safe and sound with amazing photos is the ultimate goal.
3. Make the most of the golden hour
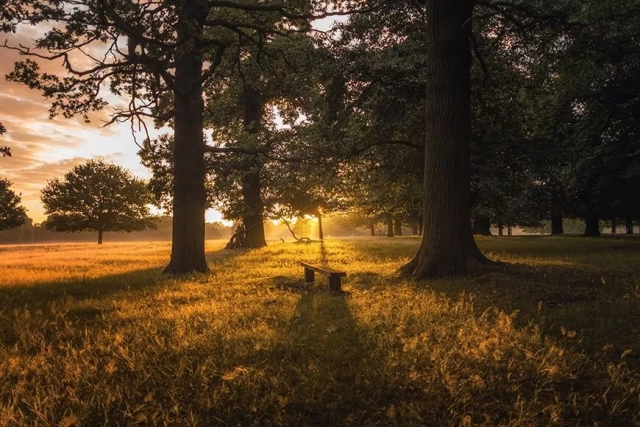
As we have already seen, golden hour is that time of day when the sky takes on a golden hue. It's the perfect time for any style of photography.
There are two golden hours: the hour before sunset and the hour after sunrise.
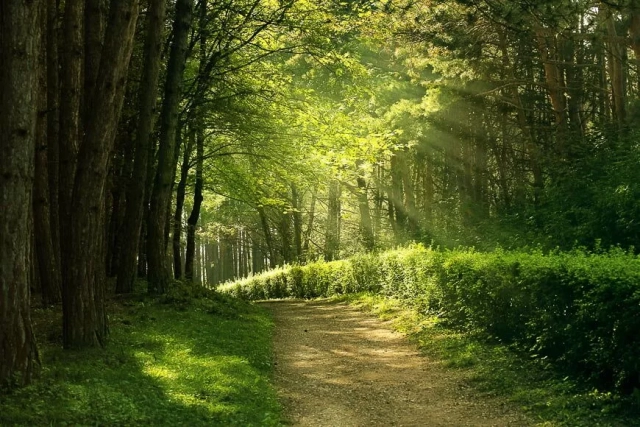
In forests, the low angle of sunlight casts a golden glow against tree trunks and the forest floor. It also results in long shadows that create a sharp contrast.
While you can simulate golden hour lighting (I'll show you how in a future article), it's best to make the most of this magical time of day to elevate the drama and storytelling in your forest photography.
4. Shoot all day
Shoot filtering light during the day for a beautiful effect.
While golden hour translates into great forest photos, there are other times when you should make the most of the lighting.
Going out for a photo shoot in the middle of the day often results in images with harsh light areas. However, in a forest, dense tree canopies block the sun and create light throughout the scene.
If you're in dense woods, you get moody shots with more intense rays of light blocked.
5. Don't run away from bad weather
We tend to believe that the best time to take any type of outdoor or nature photography is in good weather. But there's also a lot to photographing the forest in less than perfect weather.
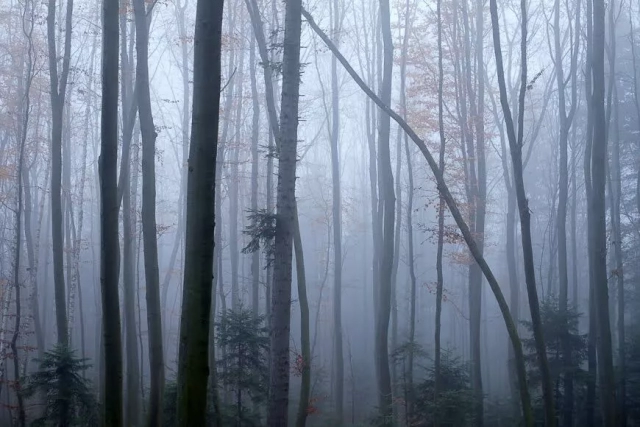
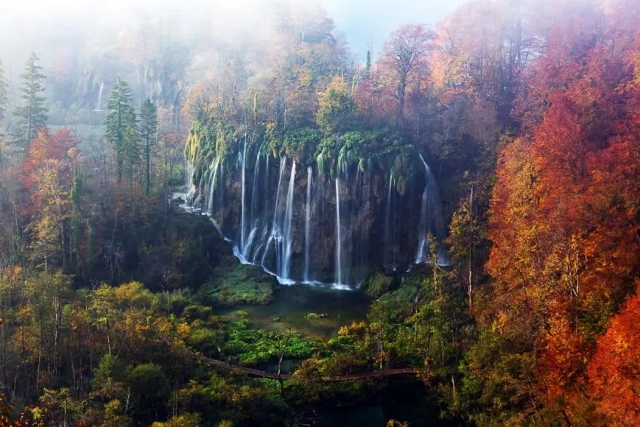
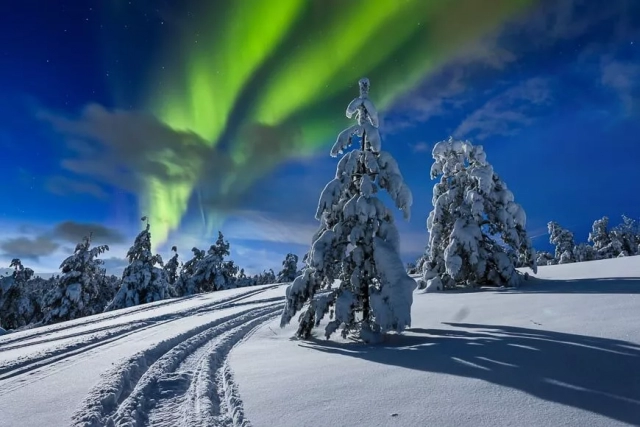
Forests and woodlands are dark and moody places at best; this atmosphere increases with rain, snow, haze and fog.
Fog and mist drifting through the trees dramatically change your experience of depth. Your visibility shortens and darker tree trunks become mere suggestions rather than concrete subjects.
This can create a completely different but equally compelling style of forest photography.
6. Shoot with a long lens
Longer lenses allow you to compress the foreground with the background.
The typical school of thought is to photograph landscapes with a wide angle lens. For forest photography, you should consider packing a telephoto lens instead.
A telephoto lens makes a lot of sense for forest images - you get a much tighter compression and can frame a more specific scene.
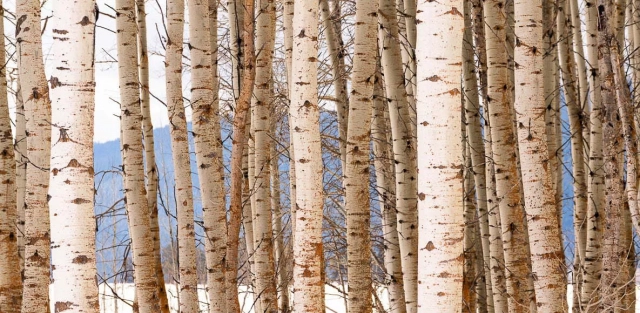
Telephoto lenses cause less distortion, which means tree trunks will be straight rather than bent at the edges of the photo.
A long lens is also excellent at managing depth of field with foreground elements in focus and background elements softened.
7. Shoot with a wide angle lens
As mentioned, a wide angle lens is ideal for capturing more scenery in forest images.
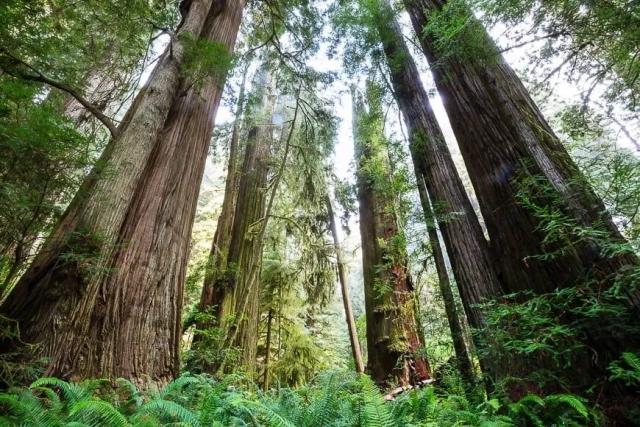
Wide-angle lenses allow compositions to show the breadth of the forest. They're especially useful when you have neat rows of tall pines receding into the distance.
By positioning yourself at the best angle, you bring out the vastness of the forest and the volume of the tall, silent trees.
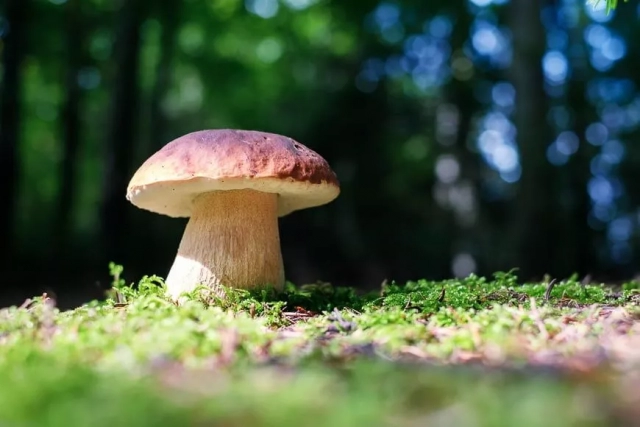
In forest photography, wide angle lenses are also great for getting up close to a smaller foreground subject.
Imagine a speckled mushroom standing in a bed of pine needles. The wide angle lens captures this as the forest floor disappears into the background.
8. Shoot with a macro lens
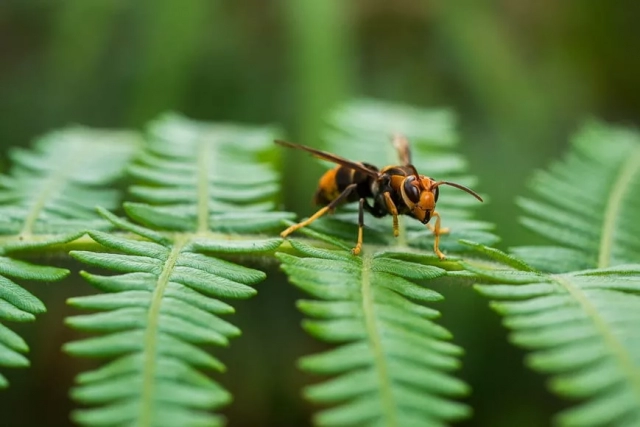
Forests force us to look up into the tangle of branches. But there's also plenty to photograph at ground level that you can't afford to miss.
With a macro lens, you'll capture truly unique images of plant, animal and insect life. Forests are a microcosm of life, much of which happens right under our feet.
Packing a macro lens when you head out for some photography in the forest will remind you to slow down and look for what's going on between your boots.
9. Remember to pack a tripod
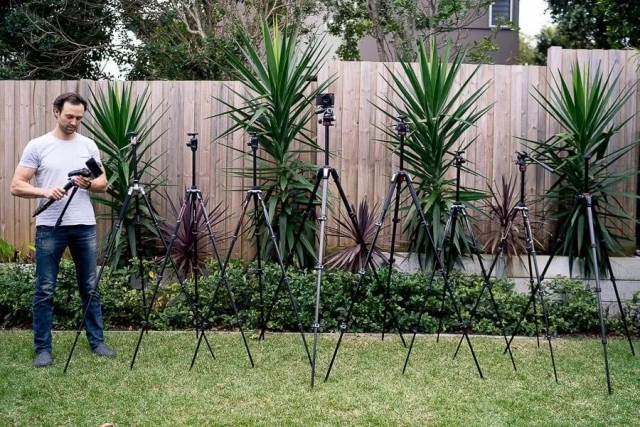
If you want to frame compositions and make sure they are straight and stable, secure your camera to a tripod . You'll also need this if you're going to get serious with longer exposure times – it will eliminate camera shake.
If you plan on packing a macro lens, you'll need a tripod to frame your shot. Because macro lenses have a narrow focal plane, you may need to use focus stacking to capture more of your subject in focus.
If you're taking a tripod along on your next forest photography adventure, strap it to a comfortable camera backpack, like these .
10. Apply a polarizing filter
Filters are a useful tool for photographers who intend to shoot long exposures without overexposing their image. Filters reduce the amount of light entering the lens and hitting the sensor.
A polarizing filter darkens the skies and handles reflections and glare from bodies of water: it controls linearly polarized sunlight.
A polarizing filter adds balance to the light in your photo and adds contrast to skies and clouds.
11. Control the shutter speed
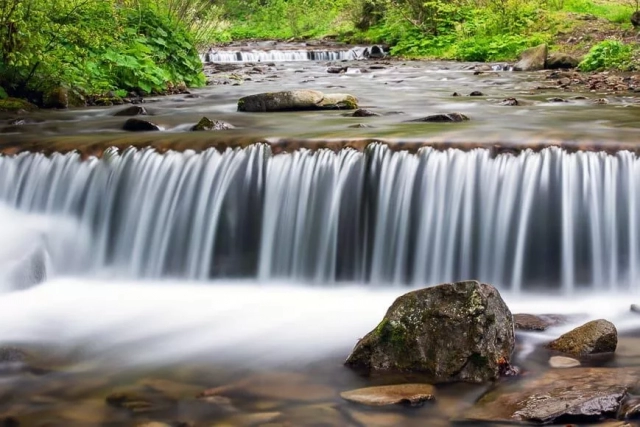
Selecting the right shutter speed is critical to the success of the forest photography process.
We use high speeds to capture and freeze something moving within the composition. With most forest photography, there isn't much action going on - the trees tend to stand pretty still.
However, if there's a strong breeze and you don't want motion in your photo, use fast shutter speeds.
If, on the other hand, you want to capture a greater level of detail and the effects of existing light, it is better to slow down the shutter speed.
Also, forest conditions tend to be quite dark and slow speeds give more time for the rays to hit the sensor.
12. Select Best Aperture

Lens aperture controls how wide or narrow the lens aperture opens.
A large aperture creates a shallow depth of field with close subjects in focus and everything else out of focus. A small aperture gives you images where everything is in focus.
In forest photography, use a wide aperture to capture close-up subjects in sharp focus. Background elements will gradually blur and become less distinct. This effect adds a lot of atmosphere to your composition and attracts the viewer.
13. Create compositions
You will quickly notice that when you walk through a forest, a lot of things are happening visually.
Don't let the volume of elements in front of you overwhelm you: shapes, contrasts, lines, colors and frames are all there. You just have to take the time to find them and position your camera to take the best photos of the forest.
This is another reason your initial exploration exercise is so important: It keeps you from not seeing the forest for the trees.
Look up, look down, drop down, climb a hill – find the best composition for your shot.
14. Frame your photo scene
One of the best things about forest photography is using natural subjects to frame your shot.
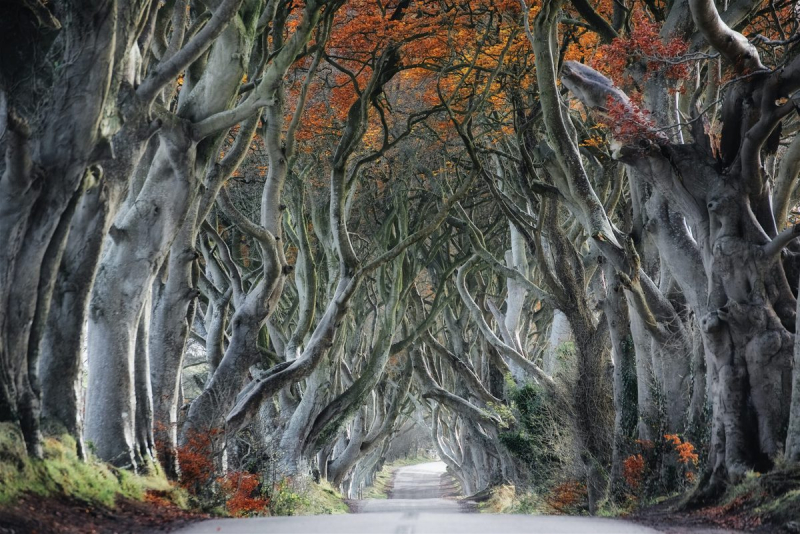
Forest scenes with trees and bushes lining a path create a perfect frame for your photo. One idea is to position the camera so that the logs form vertical edges to the shot.
Go a step further and use low foliage to apply a horizontal frame to the top of your photo.
The scene draws the viewer into the dark shadows of the center where the forest setting is pronounced.
15. Use guidelines

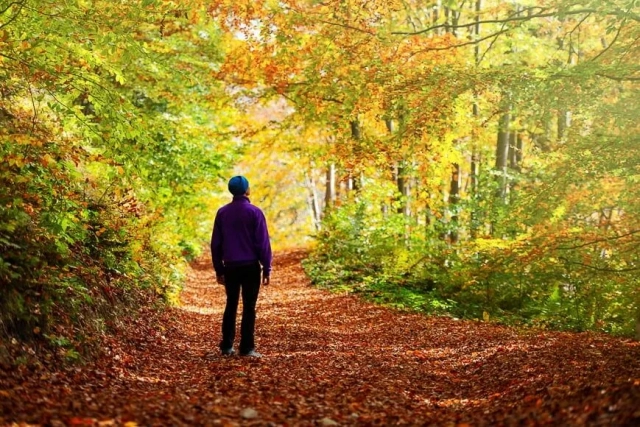
Including guidelines in your forest photos helps guide your viewer on a journey through your image.
If there are footpaths, position them to use the natural guidelines created. If you combine this with the framing concept explained above, you have a winning combination.
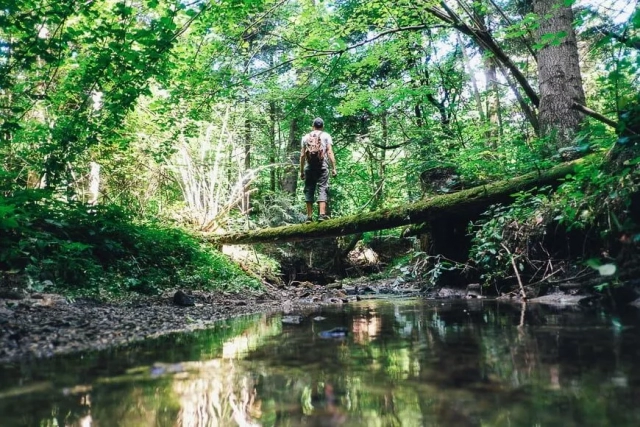
Other elements form guidelines in your shots, such as a giant fallen tree lying over a stream. This strong linear element draws the viewer in and leaves him guessing where it leads.
Another form of leading lines in forest photography is created by strong rays of light, which create shadows between the trees.
16. Find unique items
Capturing the wild beauty of the forest creates captivating images. Consider taking it a step further by finding a unique feature or element to include in your photography.
Some photographers love to use forest locations as a backdrop for model photo shoots. A forest photo showing a pixie-like model running through the trees in a flowing white dress is enthralling.
While this is one option, another is to look for natural elements to create an artistic scene. Consider a red mushroom standing on the ground with a single ray of light falling on it.
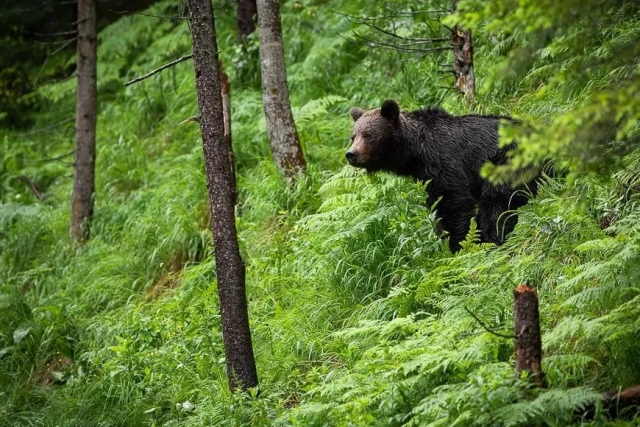
Alternatively, include woodland creatures roaming your frame. Or perhaps frame a small wildflower meadow at the edge of the forest.
17. Use natural contrast
Another element of forest photography, or any photography, is finding the contrast that exists.
Contrast tells us a lot about a scene, and it comes in many forms: texture, color, tone, light, and shadow. Look for the contrast that already exists in the area you are photographing.
Find pine needles scattered on the ground surrounding a perfectly still pool of water. Or perhaps capture how the woods meet the water with a top-down drone shot.
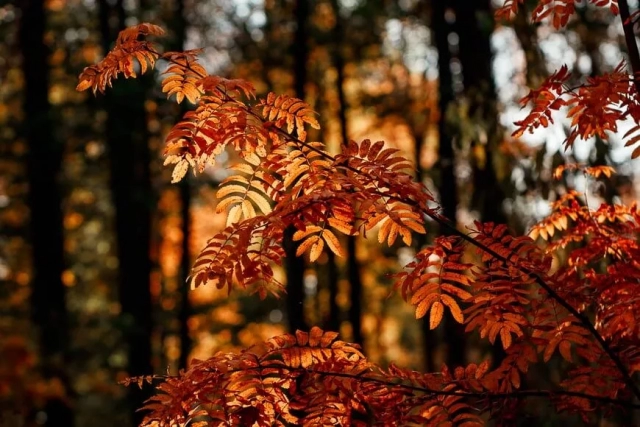
Also, look for the contrast that exists between the various colors and tones of the foliage.
18. Shoot in any season
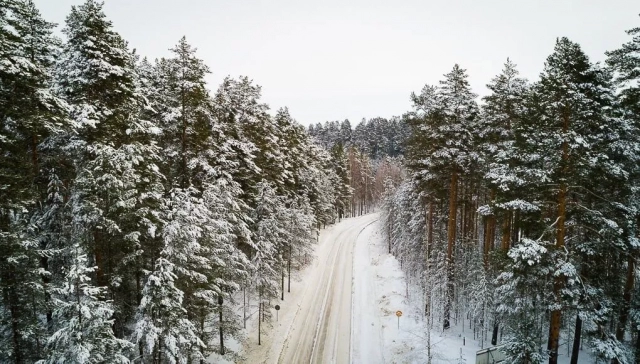
There is a temptation to photograph a forest area only in the "good" seasons of spring and autumn. But you should also consider shooting in the same location in all seasons.
I recommend visiting the same forest in summer, fall, winter and spring to create a series of photographs demonstrating natural changes. Imagine a scene with strong summer sunlight or falling snow during the Christmas season , or the dance of falling leaves during the fall .
Dense foliage forests undergo dramatic transformations throughout the year. Spring sees bright green saplings sprouting from the ground and native flowers bloom. In comparison, winter throws a white blanket over the scene and makes for a striking contrast.
Whether you're shooting a spring blossom or an autumn leaf, using the seasons adds a narrative to the images of forest photography.
19. Sprint from the ground
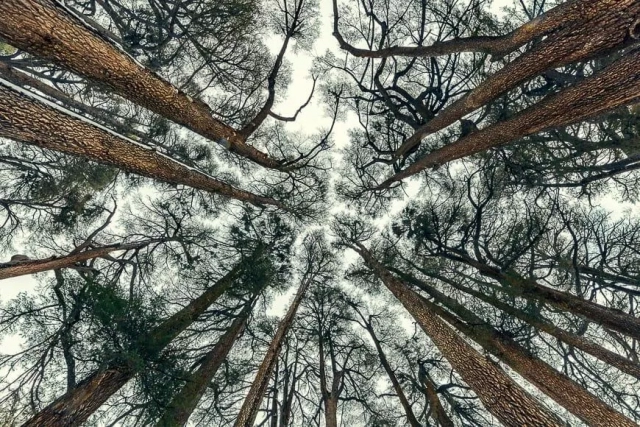
By holding the camera at eye level and shooting straight ahead, you'll get some great photos. But going down low and shooting from a different angle makes for some stunning images of the forest.
Forests are made of tall, standing trunks that stretch forever, making us stand in awe of their size. Make the most of it with a photo taken from the ground.
Another great shooting style is to stand in the middle of a grove of trees and shoot straight up. The trees will create long guidelines down to the leaves of the canopy and sky.
You might even catch the phenomenon of "canopy shyness," where trees hold their branches away from each other, making it appear as if there are cracks in the canopy. This also creates some stunning images.
20. Shoot from top to bottom
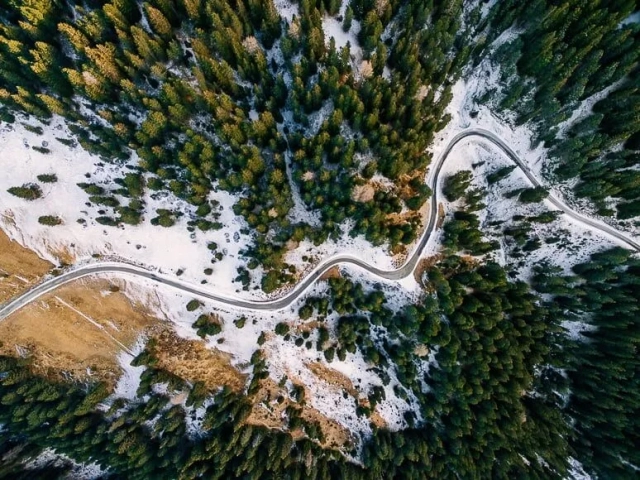
If you have a drone, consider taking it along on your next woodland adventure.
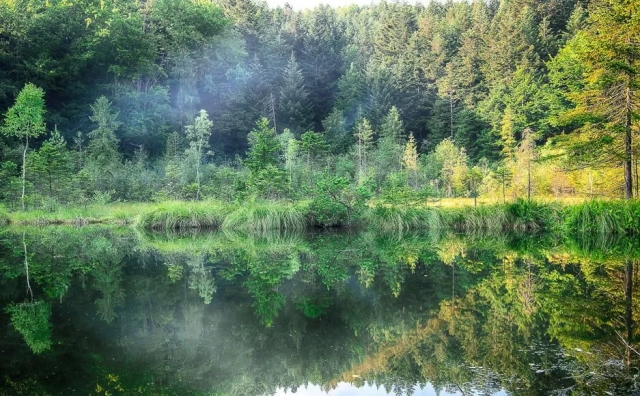
Forest photos taken from high above the canopy leaves create their own form of a story, especially if you're capturing a large area from a high altitude.
If there is a body of water nearby, use the opportunity to split your photo with one half filled with the textured green canopy and the other with the still deep blue waters.
21. Take photographs of the forest at night
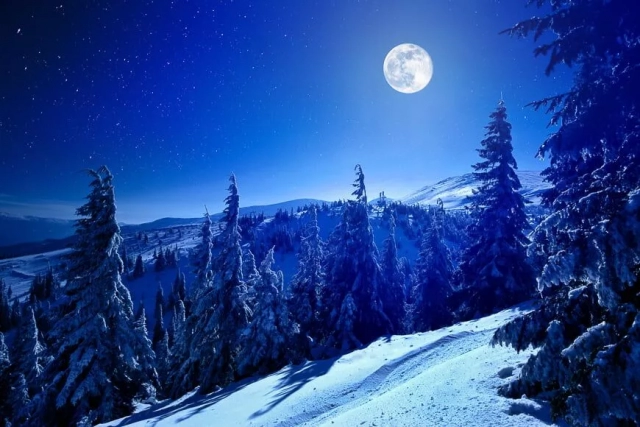
So far we have talked about photographing the forest during the day. But it's also worth considering going out at night to get a completely different look with your forest photos.
Always safe without taking any unnecessary risks, step outside during the blue hour to make the most of the chilly blue glow. The blue hour takes place approximately one and a half hours after the sun has completely descended below the horizon. The time of year will determine how long the blue hour lasts.
Another option is to shoot when the moon casts a white glow on the scene. Instead of sunbeams falling through the cracks in the foliage, ghostly moonlight will fall and soften the scene.
22. Try astrophotography in the forest
If you want to try astrophotography, get ready to do it in a forest clearing.
In just the right spot, the trees form a natural frame with leading lines looming upwards.
Imagine a ring of treetops at the edge of the frame with a clear sky showing the galactic core of the Milky Way in the center . This is one way to take your forest photography to the next level.
23. Shoot in black and white
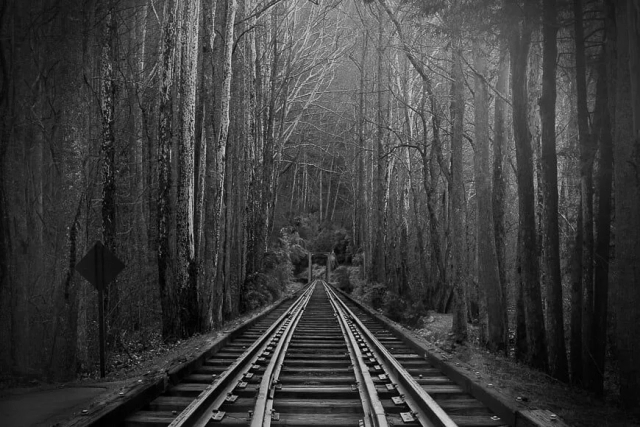
A good solution with forest photography is to shoot in black and white or at least change the forest photo to black and white later.
With black and white, you train your eye to identify light and dark areas in your forest photography. The different shades of green become tonal values that make you look for a stronger contrast.
He works with the lights and shadows caused by the fall of the light and the forest breaking that light.
24. Keep the peace
As with any photography taken in nature, it's important to be respectful of the natural balance that exists.
Be sure to tread carefully so as not to disturb creatures large and small. Consider the ecosystem that exists between those underfoot and those above: if you destroy one, the other suffers as well.
Watch out for others using the location, and if you're photographing with friends, communicate quietly.
But above all, leave the area as you found it when you arrived.
25. Dress for the conditions
It may seem like a no-brainer, but I always advise you to be aware of the conditions you are working in and dress accordingly.
If you intend to go off the forest trail, make sure your footwear is suitable for the terrain. If you're braving the cold, dress in layers just like the guy at the camp shop advised: thermal layers, gloves and a beanie are a great start.
If it is likely to be hot, be aware of the impact of heat exhaustion and dress appropriately. When out in direct sunlight, a suitable hat and sunglasses are a must.
Be comfortable and secure so you can make the most of your time in the woods.
Being out in the forest with your camera is a dream come true. Woodlands have so much to offer visual creatives, making forest photography a must for any nature-loving photographer.
With the right preparation, equipment, and a few ideas about composition, you can capture stunning forest photos that will wow all who view your photos.
When you subscribe to the blog, we will send you an e-mail when there are new updates on the site so you wouldn't miss them.
About the author
By accepting you will be accessing a service provided by a third-party external to https://www.insightadv.it/


Comments